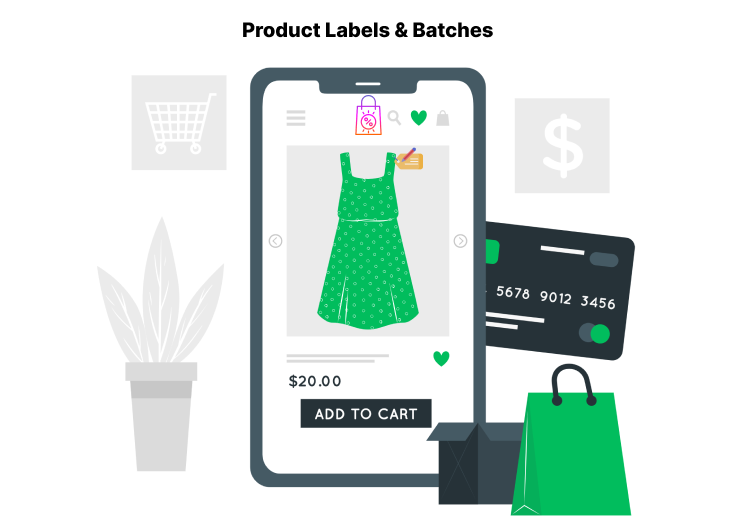
In WooCommerce, the ultimate goal of the shop owners is to provide the best shopping experience for the customers on their site.
Customize the store site based on your products and business niches. So many plugins are there to help you with that.
WordPress provides a lot of feature-rich plugins for the users in its repository. You are the one who has to select which one is suitable for your Ecommerce store site.
In this article, we’ll look at how to add a dropdown menu to your WooCommerce product page. But before that, you should know the importance of adding the drop-down menu to your WooCommerce product page.
Table of Contents
What is a Drop-down menu? & its Importances
A drop-down menu is a group of items that open when anyone clicks the button or its text. The customers can select an option from the displayed list.
The drop-down menu helps the customers to navigate easily. You can present a variety of choices (options) for your customers to select.
At first, there is only one option displayed on the menu. When a user clicks on that, the others will be displayed. You can either provide a single or several choices.
Based on the input, it gets displayed. If a customer clicks on a specific value, it is automatically present at the top (menu).
Also, check How to Add, Edit, and Delete Custom Fields on your WooCommerce Product Pages.
Okay, have a look at the below example to understand clearly:
Let’s say you have an online Ecommerce cloth store selling T-shirts. If you use the drop-down menu to provide the neck type, color, and size, you can save a lot of space on the product page.
Using other fields to display the options:

Using drop-down menus to display the options:

Drop-down menus not only help to minimize the page space but also lower the page loading speed. Also, your customers don’t need to go through the full page to select the options. They just click the drop-down menu and pick up what they want.
Need of a Plugin
To add the drop-down menu, you need a plugin that helps to add custom fields to the WooCommerce product pages. There are tons of plugins in the WordPress directory.
So, we have handpicked a well-featured plugin to serve what you need.
Extra Product Options (Custom Addons) for WooCommerce
The Extra product options (custom addons) plugin provides 19+ custom fields, including a drop-down menu for your WooCommerce product. You can add, edit, delete, and reposition the custom and default product fields based on your niche.

Custom Product Options (Fields)
- Text
- Telephone
- Color Picker
- Date Picker
- Time Picker
- DateTime Picker
- Number
- TextArea
- Drop-Down / Select
- Multi Select
- URL
- Range/Slider
- Checkbox
- Radio Buttons
- Hidden Input
- Paragraph
- Header
- File Upload
Some Key Features
- Custom price fields
- Dynamic fields
- Set price options
- Create multiple custom forms/sections
- Easy section positioning
- More customizable options
- Hidden input
- Help text feature
- Drag and drop form builder
- WPML compatibility
Pricing
- Single Site – $39.00
- 6 Sites – $79.00
- 26 Sites – $129.00
A Free Version of the plugin is also there, so give it a try at it!
How to Add a Drop-down menu in WooCommerce Product Pages?
Just follow the below given simple steps below to add the drop-down menu to your WooCommerce product page.
Step 1: The Plugin Page
After activating the plugin, go to your WordPress backend (dashboard). You can find the Extra Product Addons below the WooCommerce section. Click that, and the Forms page opens, as shown below.

Step 2: Adding a New Product Form
After that, you can click on the Add New Form button to create your product form. You can add the title to your product form and then drag and drop the custom fields based on your product niche on the form builder.

Step 3: Creating the Product Form
I have created a form for a T-shirt (product) and added the relevant product fields. On this, I used the Select (Drop-Down) for the color, neck type, and size fields.
If I used Radio Buttons or others, it would occupy more space. So, I’ve used the Drop-Down menu.
Click the Publish button to save the form.

Step 4: Adding the Form to the Product
Then, on the Products page, go to the product you want to add to the created form. On that page, scroll down to the Product Data section, where you can see the Extra Product Addons option.
Click that, the Select Form opens, and select the form you’ve created. Save the changes by clicking the Update button (positioned on the right side of the page).

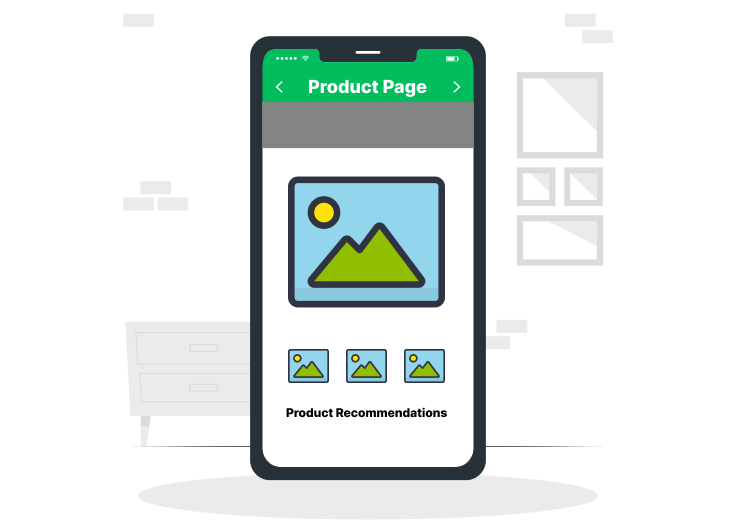
Step 5: The Product Page
Finally, visit the product page of your site. You can see the product fields displayed on the page to serve the customers.
Conclusion
Now, your customers can simply hit the button to select the options they want without going through the page. As I said, you must provide the best shopping experience for your customers.
Check here to learn more about How to Optimize your WooCommerce Product pages for more sales.